

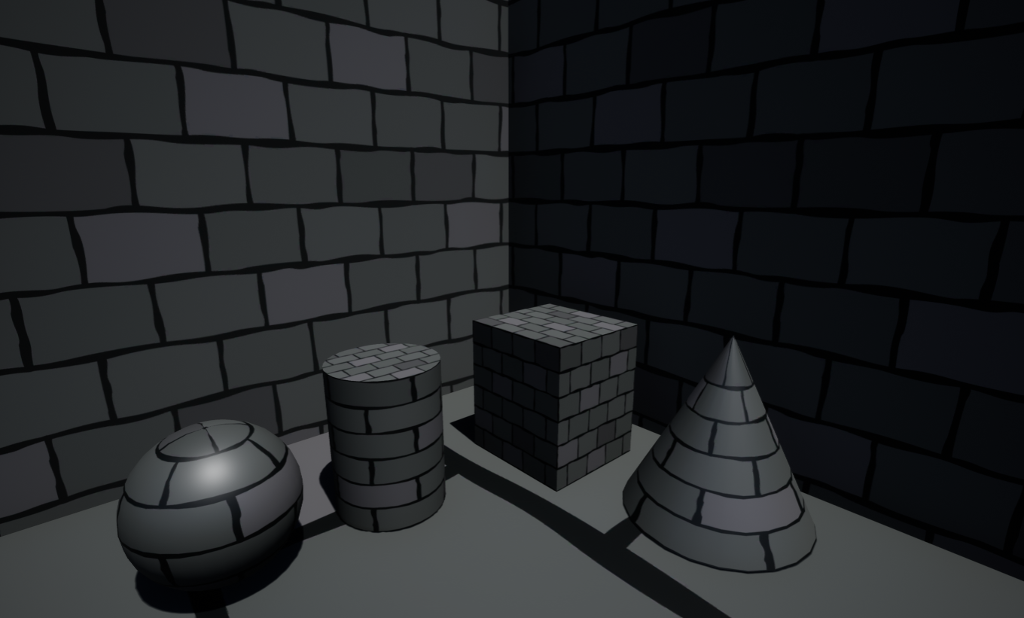
This tutorial is about how to make seamless textures in a more comfortable way than with the “make pattern” funcion.
After you are done with this setup you never have to do it again. Just save it under a different name before you start drawing. You can use it as a template for every new texture or mirrored Image you want to draw.
Let’s get started:
- Create your document as a square for eg. 1024 X 1024, 2048 X 2048, 4096 X 4096 and so on.
- Create 3 layers.
- One layer will be set up a way, that will mirror left and right.
- One layer will mirror top and bottom.
- One layer will be a normal layer, where you can draw freely.
- Name the layers. For eg. “left right mirror”, “top bottom mirror”, “free layer”
- Set up the layer “left right mirror” the way it’s described in this tutorial: https://www.vecteezy.com/deals/how-to-do-live-mirror-drawing-in-adobe-illustrator-cc
- Do the same with you “top bottom layer”, but this time set the axis of symmetry under Effect > Distort & Transform > Transform… (Step 4) to “reflect Y”
- Don’t do anything with the “free layer”.
Your layers should now look like this:
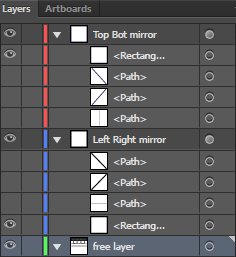
And work like this:
- If you select the layer “left right mirror” and draw something, it should be reflected verticaly.
- If you select the layer “top bottom mirror”, your drawing should be reflected horizontaly.
- If you draw on the “free layer” nothing should be reflected. ^^
→ If so, you are done!
Save this setup and carry on with a different name for your document. Start drawing your first texture. Use the layers as described in the image below.
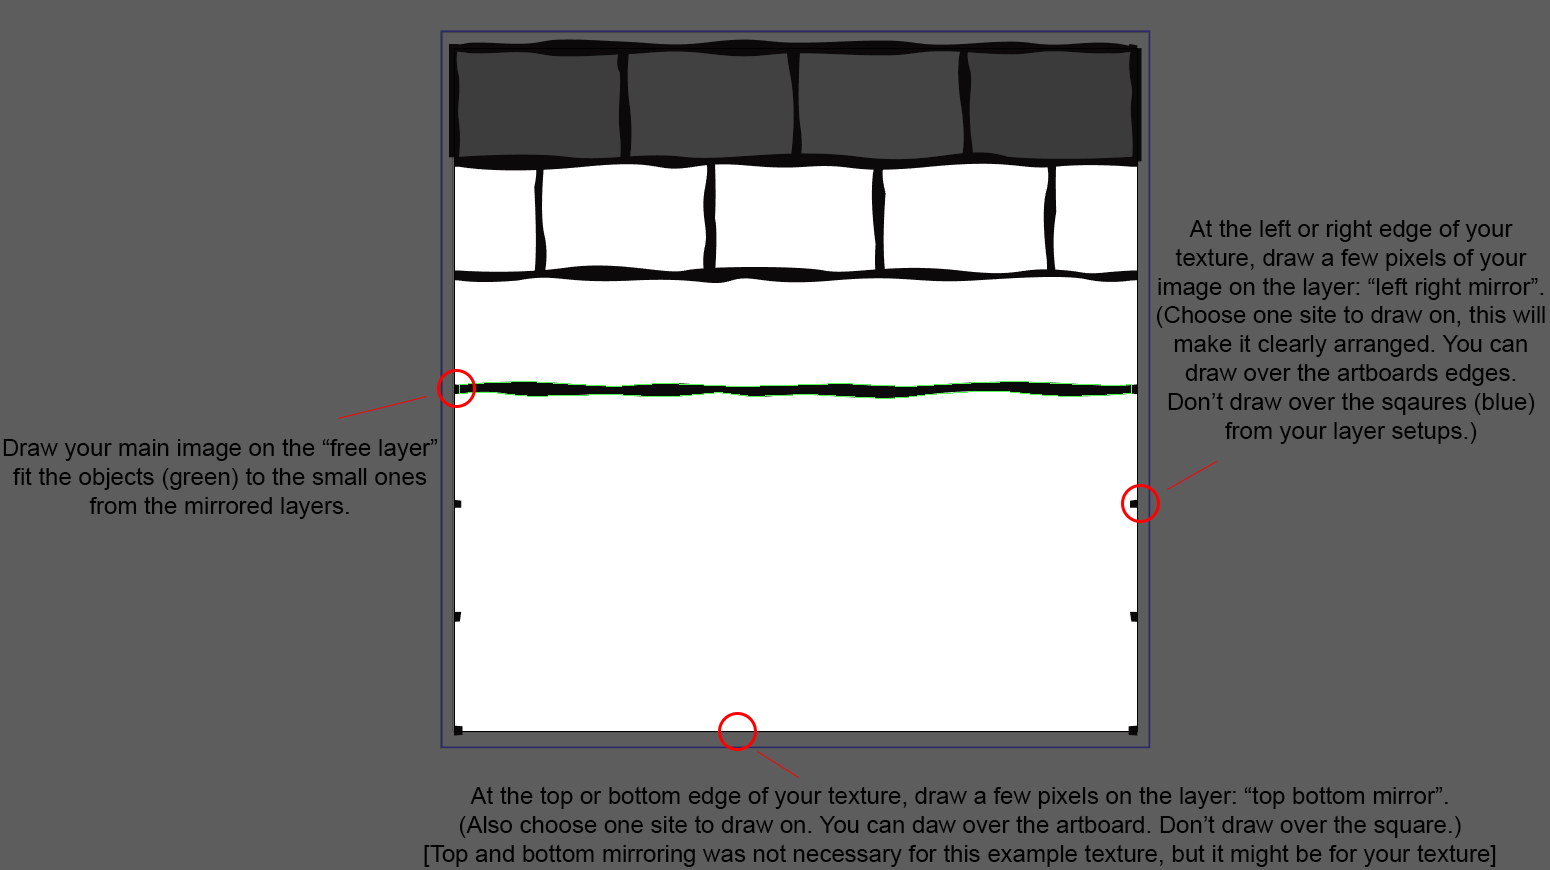
Have fun. 🙂